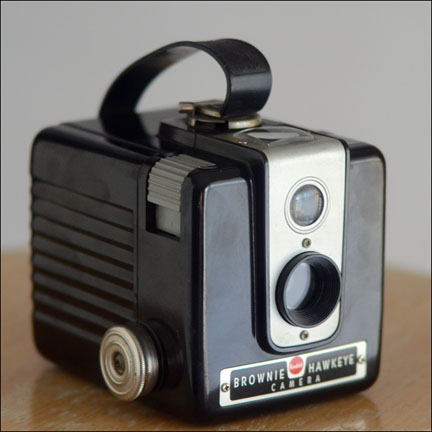
There’s been a lot of interest lately in vintage “lomo” film cameras and their newer clones. Dianas, Holgas, and others have become very popular with amateur and professional photographers. The primary appeal of lomography is that it produces images that are unpredictable and artistic. I’ve been shooting some wonderful lomo photos using an old Kodak Brownie Hawkeye camera with a flipped lens. This is a way to get unique, beautiful images using an inexpensive piece of vintage equipment.
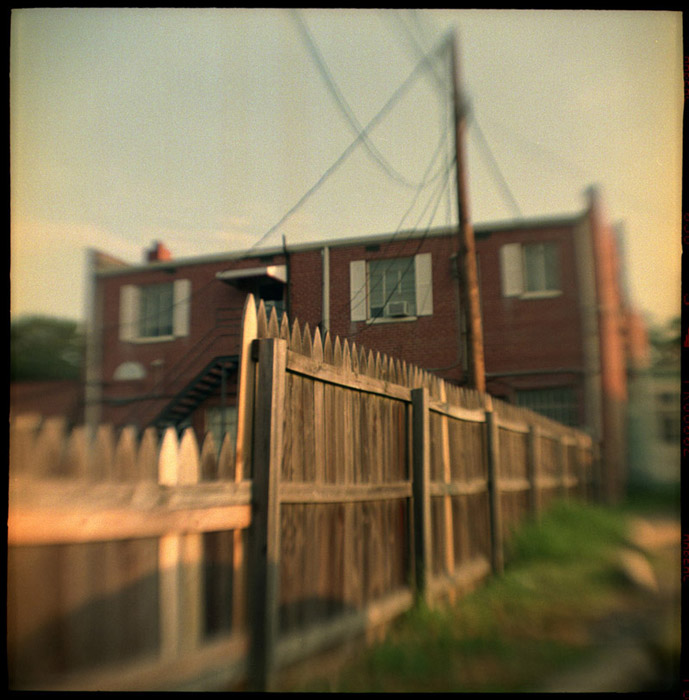
Kodak Brownie Hawkeye - Fuji Pro 800Z (120)
Kodak manufactured the non-flash Brownie Hawkeye from 1949 to 1951, and the Brownie Hawkeye Flash was produced from 1950 to 1961. Kodak must have made millions of these cameras. They were popular for years, and are still popular in the used market. You can probably find one for $10-20.
The body of the Hawkeye is made of bakelite, and the lens is a meniscus glass lens with a plastic collar. It’s a point-and-shoot camera; the shutter speed is about 1/30th of a second and the aperture is approximately f11. For longer exposures there is a bulb setting. Given the fixed aperture and shutter speed, the only variable left for adjustment is the choice of film. I would suggest 125-160 speed films for sunny days and faster films for shade and indoor shots.
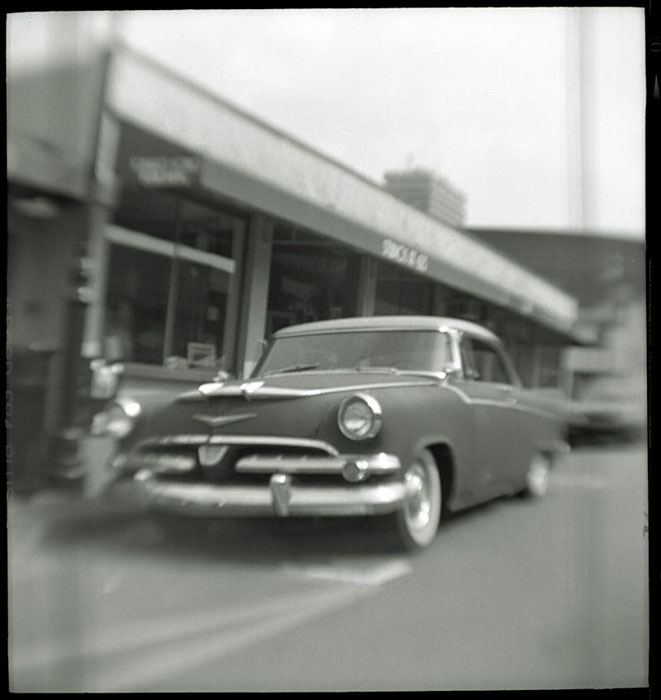
Kodak Brownie Hawkeye - Ilford FP4 Plus (120)
Kodak introduced a proprietary film size in the 1930s called 620. This film was widely available when the Brownie Hawkeye was originally sold, but was discontinued around 1995. The good news is that it’s essentially the same as 120 film, which is still available. The 620 was sold on metal spools with slightly smaller and thinner sides, but a Brownie Hawkeye has enough room to accommodate a 120 spool on the supply side. You’ll need an old 620 spool to fit in the tight space on the take-up side. If you’re lucky, an empty 620 spool will come with your vintage camera—just be sure to ask for the spool to be returned to you when you drop the film off for developing.
In the early 1950s, Kodak figured out that people were able to fit 120 film in the Brownie Hawkeye, so they added metal tabs to the film holder. If your model has these tabs, just bend or flatten them. I believe they changed the film wind knob from metal to plastic at the same time. (If you see a Brownie Hawkeye with a metal knob in decent condition, grab it.)
Once you’ve purchased a Brownie Hawkeye, you’ll need to clean it up and flip the lens to get the desired special effect. There is clear glass in front of the shutter, meant to prevent dust from entering the camera. The actual lens is behind the shutter. If you open the camera and look inside the front half, you’ll see two screws holding the film holder in place. Remove those screws and gently lift the film holder out. The lens is sandwiched between the film holder and the body, so those two screws—and possibly a little gunk collected over the past 50 or 60 years—are all that holds the lens in place.
After cleaning the lens, flip it around before putting it back in place. If you are unsure if it is flipped, reattach the film holder and cover the rear of the holder (where the film would go during an exposure) with a small piece of waxed paper. Now take the camera to a fairly dark room, point it at a bright subject, and hold the shutter open using the bulb setting. The center of the image should be fairly focused, and the edges will look soft and dreamy.
While you’re cleaning, you should probably remove the metal plate on the front and clean the glass and mirror pieces in the view finder, as well as that clear glass in front of the shutter. Carefully remove the plate, and notice where each piece goes; the plate is the only thing holding them in place.
The new film loads on the top, pulls straight over the back of the film holder, and feeds the take-up reel on the bottom. There is no pressure plate, just the tension of the film, so the edges (especially the left and right edges) of the photo can look a little soft even when the lens isn’t flipped. Feed the film’s paper backing around the take-up spool, then close the camera and continue to turn the knob until you see a “1” in the red window. Now you’re ready to take a photograph. Don’t forget to wind the film to the next frame right after you shoot, or you’ll end up with a double exposure.
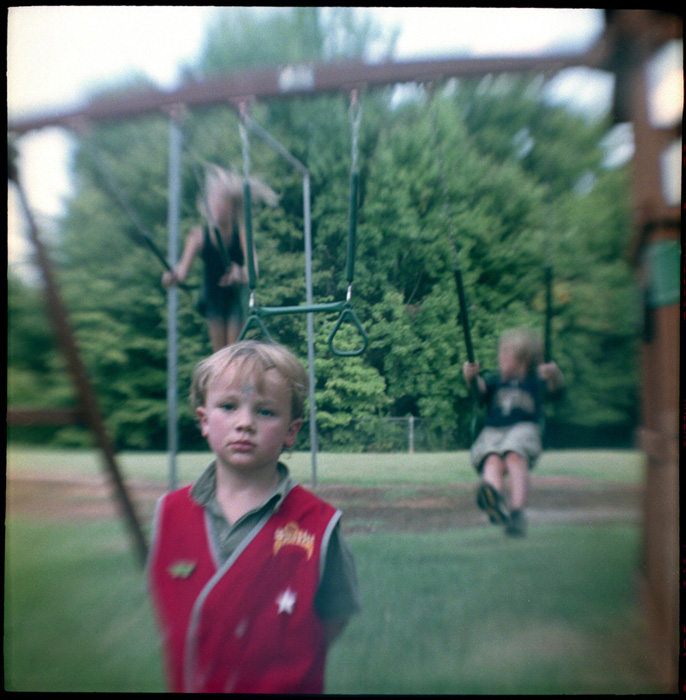
Kodak Brownie Hawkeye - Fuji 800Z (120)
All of the photos in this post were taken with a Brownie Hawkeye, and I now make sure it’s in my bag every time I shoot a wedding.
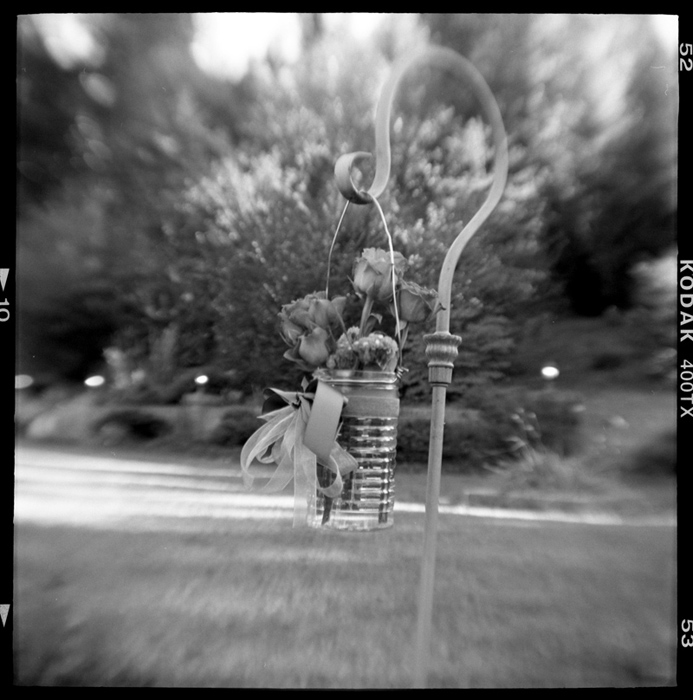
Kodak Brownie Hawkeye - Kodak Tri-x (120)
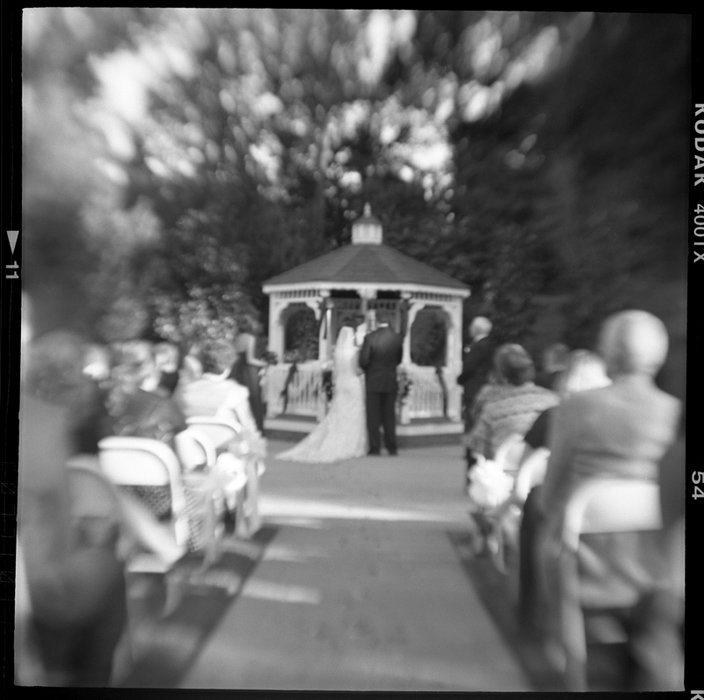
Kodak Brownie Hawkeye - Kodak Tri-x (120)

